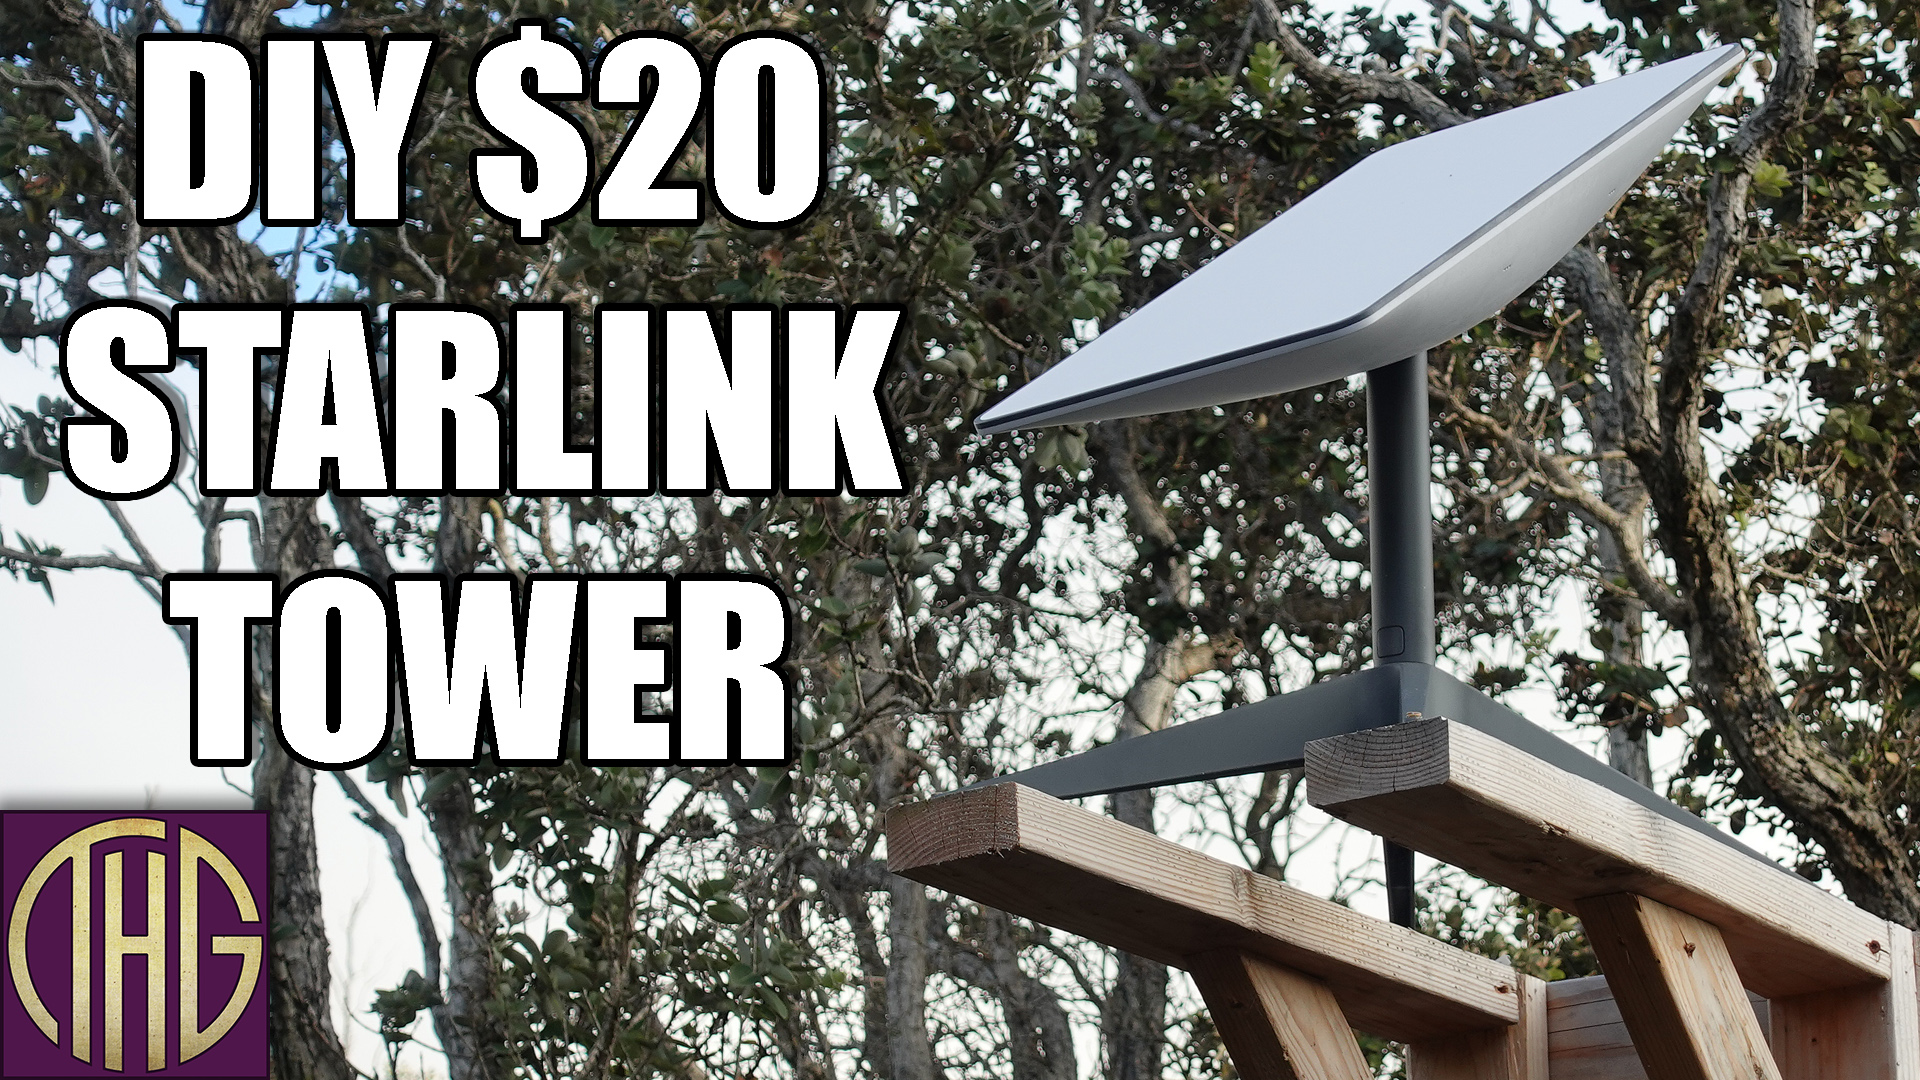
We needed an affordable way to get our Starlink up in the air to clear our neighbors’ trees, hopefully with materials that we had on hand. Welcome to The Hippie Geeks, let’s check out how we get internet access on our off-grid property on the Big Island of Hawaii.
Starlink has been great for the last nine months or so that we have been using it, but to get reliable service in our area, the dish needs to have a completely clear view of the northern sky. I have mentioned it before, but our lot has a lot of trees, and the lots to the north of our spot do as well. I initially tried setting the dish on the ground on top of a couple of pallets in different areas, and while it would mostly work, we always ended up with interruptions and dropouts as the trees would get in the way of the signal. When we first got here, we didn’t have any way to set a post in the lava, and I also didn’t want to buy the adapter from Starlink to mount it to a pole.
What I did have however was a couple of pallets and a few 2×4’s, so I decided to get creative. The main uprights are two full 8’ long 2×4’s that are held together by four, fourteen-inch-long sections of wood. This spacing is perfect for the base width on the Starlink V2 dish that we have. They are spread out with one at the top and the bottom, and then the other two evenly spaced in between them. To hold the Starlink dish itself at the top, there are two 24” long pieces, which are long enough for the Starlink dish base to fit on as well. Up top there are a couple of shorter pieces that I used as 45-degree braces to support the weight of the dish, and once all of that was assembled, I laid it on its face and attached what I had built so far to a used pallet that we picked up locally for a dollar. Once the bottom was attached to the pallet, I then cut the bracket that comes off of the lower cross piece down to the back of the pallet to give it enough rigidity in that direction. After that I attached the dish to the platform and tilted it all upright with the dish facing north.
There was already a pallet in that place that the dish had been set on initially, and as I had already taken the time to level it out with large lava rocks, I just put the whole assembly on top of that one so that I knew it would be level as well. I then covered the pallet with several large lava rocks as well to hold it down in place, and it really kept it stable. One thing that I didn’t do initially was to add the lateral braces that go from the main structure down to the corners of the pallets, and that worked out well for several months. However we had a pretty strong storm come thru with forty mile an hour gusts, and it was moving slightly in that direction so I just went out and added those cross braces as well, which I should have honestly done in the first place.
All told this project cost me around $20, and it has been sitting there keeping us connected to the internet for the last nine months. It has held up to thirty mile an hour sustained winds and fifty mile an hour gusts during one of the hurricanes that brushed the island last year, and I can’t really ask for more than that. As for the Starlink service itself, it is fine for what it is. The speeds we typically see are around 15 megabytes up and 200 megabytes down, with out latency anywhere from 60 to 90 milliseconds in games. It is a lot better than what we get with a tethered cell phone, and for the most part it just works without me thinking about it.
If you liked this video, make sure to click on whatever other videos youtube is showing on the screen right now, as you will probably enjoy one of those as well. Thanks for taking the time to watch this video, and we will see you on the next one.
Our Links: Website: https://www.thehippiegeeks.com
Amazon Wishlist: https://www.thehippiegeeks.com/gifts
Instagram: https://www.thehippiegeeks.com/instagram
Twitter: https://www.thehippiegeeks.com/twitter
Contact For Business Inquiries: [email protected]
